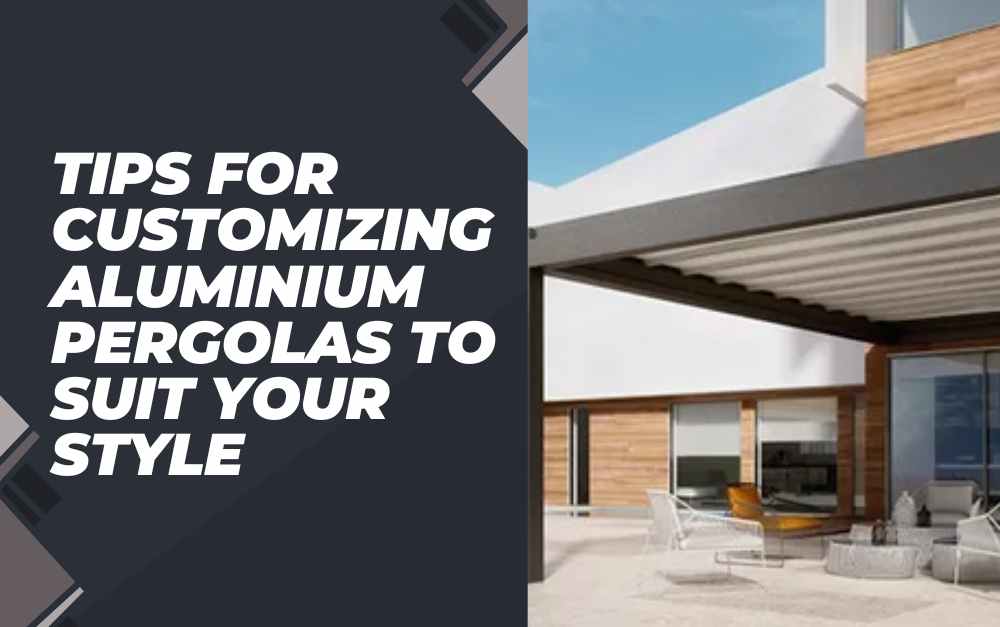
Introduction to Aluminium Pergolas
Aluminium pergolas are a wonderful addition to any outdoor space, providing both shade and style. They are durable, low-maintenance, and versatile, making them an excellent choice for homeowners looking to enhance their gardens, patios, or decks. Unlike wooden pergolas, aluminium ones do not rot, warp, or require frequent painting. This means you can enjoy the benefits of your pergola with minimal upkeep. In this guide, we will walk you through the process of installing an aluminium pergola, from the initial planning stages to the final touches. Whether you’re a DIY enthusiast or a first-time installer, this step-by-step guide will help you achieve a professional-looking result.
Planning and Preparation
Before you start installing your aluminium pergola, it’s important to plan and prepare thoroughly. Begin by choosing the right location for your pergola. Consider factors such as the amount of sunlight, proximity to your house, and the layout of your outdoor space. Once you’ve chosen the location, measure the area to determine the size of the pergola you need. This will help you purchase the correct amount of materials. Next, check with your local authorities to see if you need any permits for the installation. It’s also a good idea to call 811 to ensure there are no underground utilities where you plan to dig. Having all necessary permits and information beforehand will save you time and potential headaches later on.
NOTE : Elevate your outdoor living experience with a stunning Aluminium Pergola Dubai! Contact us today to transform your space into a stylish and functional haven. Don’t miss out on the perfect blend of elegance and durability – get in touch now!
Gathering Your Materials and Tools
To install an aluminium pergola, you will need specific materials and tools. Most pergola kits come with pre-cut and pre-drilled parts, which makes the installation process easier. Ensure that your kit includes all the necessary components, such as beams, posts, brackets, and screws. In addition to the kit, you will need tools such as a tape measure, level, drill, wrench, ladder, and safety equipment like gloves and goggles. Having everything you need at hand will make the installation process smoother and more efficient. Take the time to familiarize yourself with the parts and instructions provided in your pergola kit before you begin.
Preparing the Site
With your materials and tools ready, the next step is to prepare the installation site. Start by marking the locations where the pergola posts will be installed. Use stakes and string to outline the area, ensuring the lines are straight and the corners are square. Once the area is marked, clear it of any debris, plants, or obstacles. If your pergola will be installed on a lawn, you may need to remove some sod to create a level base. For installations on concrete or decking, make sure the surface is clean and in good condition. Proper site preparation is crucial for the stability and longevity of your pergola.

Installing the Posts
The first major step in the installation process is setting the posts. For a solid foundation, you will need to dig holes for the posts, usually about 24 inches deep and 12 inches wide. If you are installing on concrete, you can use anchor brackets instead of digging holes. Once the holes are ready, place the posts in them and ensure they are plumb and level. Use a spirit level to check this from multiple angles. Fill the holes with concrete and allow it to set according to the manufacturer’s instructions. This step is essential for ensuring your pergola is stable and secure.
Attaching the Beams
Once the posts are securely in place, the next step is to attach the beams. The beams provide the horizontal support for your pergola and are typically installed in pairs on opposite sides of the posts. Begin by measuring and marking the height at which the beams will be attached. Use a ladder and a level to ensure the beams are straight and evenly spaced. Attach the beams to the posts using the brackets and screws provided in your pergola kit. Make sure each beam is firmly attached and double-check their alignment before moving on to the next step.
Installing the Rafters
With the beams in place, you can now install the rafters. Rafters are the horizontal slats that span the length of your pergola, providing shade and structural support. Start by marking the placement of the rafters on the beams, ensuring they are evenly spaced. Use the brackets and screws to secure each rafter to the beams. It’s important to check that each rafter is level and properly aligned before securing it completely. Take your time with this step to ensure the rafters are installed correctly, as they play a crucial role in the overall appearance and functionality of your pergola.
Adding the Final Touches
After the rafters are installed, it’s time to add the final touches to your aluminium pergola. This may include installing additional accessories such as shade cloth, lights, or decorative elements. If your pergola kit includes end caps or decorative finials, now is the time to attach them. These small details can enhance the look of your pergola and give it a finished, polished appearance. Additionally, take a moment to check all screws and connections, tightening any that may have come loose during installation. This final inspection ensures that your pergola is both beautiful and secure.
Enjoying Your New Pergola
Congratulations! You have successfully installed your aluminium pergola. Now it’s time to enjoy the benefits of your new outdoor structure. Whether you use it as a shaded retreat, a dining area, or a garden feature, your pergola will provide years of enjoyment and enhance the aesthetic appeal of your outdoor space. Consider adding outdoor furniture, plants, or other decorations to personalize your pergola and make it a true extension of your home. With proper care and maintenance, your aluminium pergola will remain a beautiful and functional part of your yard for many years to come.
Conclusion
Installing an aluminium pergola is a rewarding project that can significantly improve your outdoor living area. By following this step-by-step guide, you can achieve a professional-looking installation and enjoy the many benefits of a pergola. Remember to plan and prepare thoroughly, gather all necessary materials and tools, and take your time with each step of the process. With patience and attention to detail, you can create a stunning and durable pergola that will be the envy of your neighborhood. Happy building!
For more insightful articles related to this topic, feel free to visit websitesbacklink